The Unfathomable Fortress is the fifth mission of the Allied campaign in Command & Conquer: Red Alert 3.[1]
Background[]
| “ | Good show, Commander! Bloody well done! - Bingham at the briefing's start |
” |
The successful conclusion to the first joint operation of the Allied and Soviet forces was a turning point in the war with the newly emerging Empire of the Rising Sun. While there was no doubt that the cooperation between the two former enemies had given them a key victory in not only freeing the Assault Destroyer fleet in the western Mediterranean, and had driven the Empire outside the harbour of Gibraltar, there were still murmurs of discontent and wariness between both sides.
Nevertheless, both Premier Cherdenko and Field Marshal Bingham were pleased with the success of the mission with the Premier of the Soviet Union, very happy that his Allied counterpart gave good praise to their folk hero, the elite sniper Natasha. Bingham assures Cherdenko that Natasha's services will still be needed for their next operation in the North Sea.
Bingham then informed the Allied Commander that they had recently discovered the wreck of a Shogun Battleship of the Imperial Navy. Scans had indicated that its still functioning data banks had schematics and information on the Floating Fortress in the North Sea, which may reveal its weaknesses.
This meant that the only chance their combined forces had, was to salvage the data from the sunken ship and get whatever information they had so the Allied-Soviet alliance could immediately strike the Imperial Floating Fortress and their forces with their proverbial pants down.
The Allied Commander was more than ready for the task as he knew that if they didn't get to that data first, then the Empire would send forces to either salvage the ship or destroy it to prevent their side from getting the information. However, he still kept a wary eye on his Soviet 'comrades' for not forgetting the advice and warnings handed to him by Eva McKenna and Special Agent Tanya.
New additions[]
Events[]
"Their Loss, Our Gain"[]

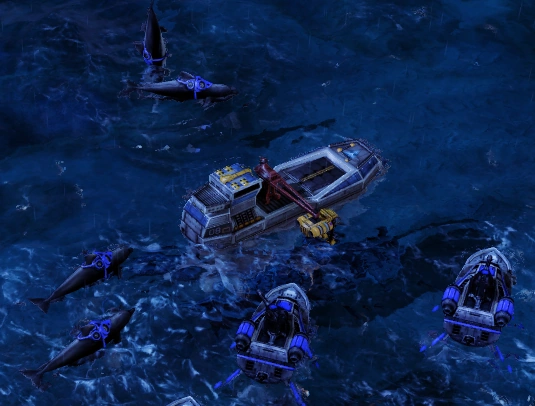
The Allied Salvage Ship, protected by Hydrofoils and Dolphins
The Allies sent a Salvage ship to the location of the sunken Shogun Battleship to recover the information. While the salvage operation was underway, the Imperial army sent Striker-VXs and Naginata Cruisers to stop them.
A group of Hydrofoils, dolphins, Bullfrogs, and Stingrays guarded the Salvage ship. The Hydrofoils jammed the Naginata Cruiser's weapons and shot down the Chopper VXs. The intel was recovered and was analyzed, giving the joint strike force a fighting chance against the massive fortress.
| “ | It is cowering behind that Power Plant like child! - Natasha Volkova detecting the first Radar boat. |
” |
According to data salvaged from the Imperial ship, the Empire used Radar Boats that acted as an early warning system for the fortress itself, helping coordinate the Wave-Force triguns of the Floating Fortress, allowing them to easily destroy the invasion force from afar.

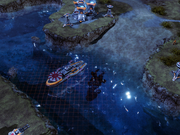
The first Radar Boat
Natasha and a team of Allied Spies set out to sink the first Radar boat. Defender VX Turrets were guarding the boat, so the Spies infiltrated the Instant Generators nearby to power them down and allow Natasha to call in airstrikes on the Generators and destroy the VX Turrets. They repeated this process until Natasha got close enough to target the Radar Boat. The ship was promptly destroyed by an airstrike.
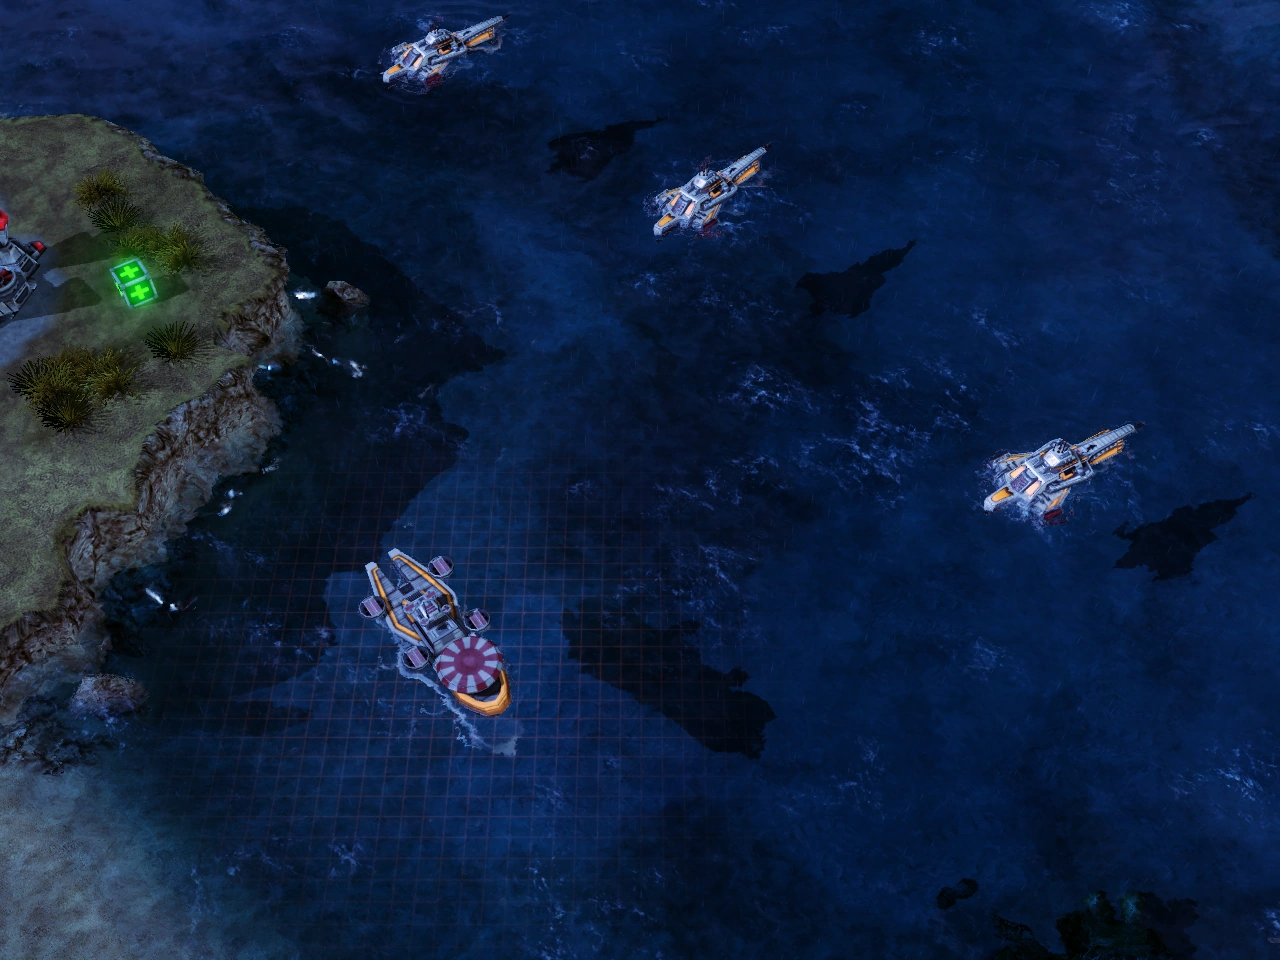

The second Radar Boat
Tanya and four Soviet engineers came to the second island, where the second Radar Boat was. Tanya mowed down all the Imperial Warriors and Tankbusters guarding the nearby Generators, cutting off power to the Wave-Force towers guarding the Radar Boat. The Soviet Engineers proceeded to capture the Generators one by one, and eventually all the Wave-Force Towers were without power. Tanya swam out to the Radar Boat and blew it out of the water. The fortress' Wave-Force tri-cannons were now rendered blind.
[]
With their long-range artillery offline, the Imperial forces were unable to stop the Allied and Soviet MCVs from moving in and establishing a base. However, the commander of the fortress, Naomi Shirada herself, soon sent a small fleet of Shogun Battleships and Naginata Cruisers to destroy the Allied and Soviet bases.
The Allied forces still lacked powerful naval units to combat the Empire's naval forces at this point, but they managed to buy themselves some time by jamming the weapons of the Imperial ships with Hydrofoils while the Soviets sank them with Twinblades. Due to heavy losses, Dreadnoughts, Aircraft Carriers and Century Bombers were made available.
The End of the Fortress[]
The King Onis, along with some Wave-Force Towers, were guarding the only way onto the fortress. However, they were easily dealt with by the Allied's Aircraft Carriers.
A Twinblade delivered an engineer to the first Power Core after Aircraft Carriers blew the King Onis guarding it to smithereens. The Engineer captured the Core, allowing a 30-second window to capture the other. This was a very happy moment for the USSR and its leading council, under Cherdenko who says his words to the Commander at the end of the battle.
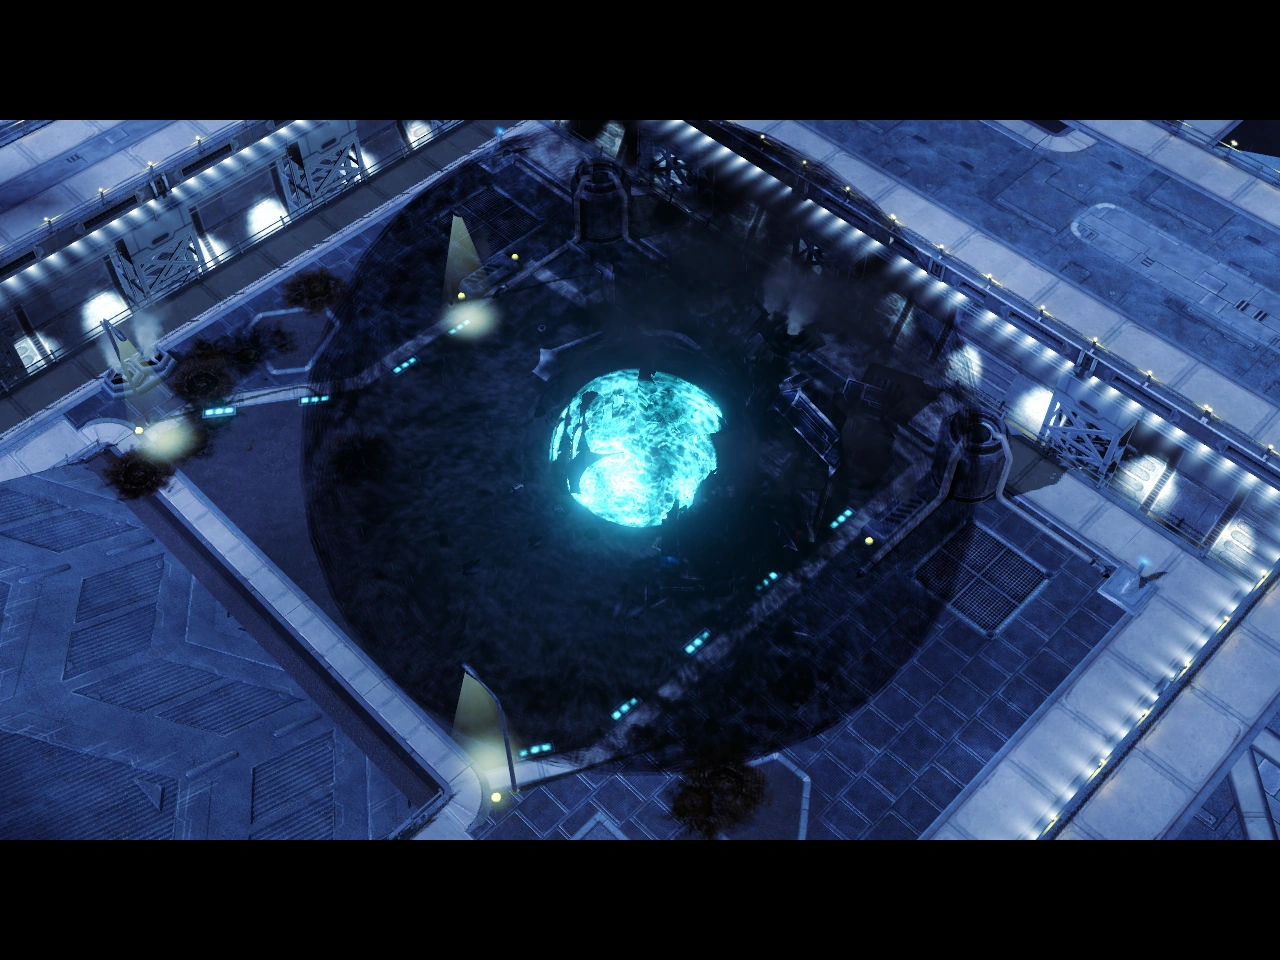

The Power Core explodes
After the Soviet Engineer captured the Power Core to the northwest, a Century Bomber para-dropped an Allied Engineer in front of the other Power Core, destabilizing it too before the automatic repair system of the fortress can repair the damage done to Core Alpha.
The Allied and Soviet navies evacuated the area before the fortress exploded violently, having both of its Power Cores overloaded. Soon, the greatest weapon in the Empire's arsenal was sent to the bottom of the ocean.
| “ | Excellent work, Commander! I've no doubt that our coalition might be... successful? - Cherdenko praising the commander at the end of the mission |
” |
Aftermath[]
With the Floating Fortress destroyed, the Allies could now reopen their shipping routes to North America. At the same time, this defeat was a great embarrassment to the Empire, as these iconic fortresses cost a fortune in yen, and also resulted in the Empire shelving plans for an invasion of America, not to mention the fact that they had to pull out of the Atlantic and Indian oceans.
Walkthrough[]
Defend the Salvage vessel with the Hydrofoils and the Dolphins with the Soviets Stingrays and the Bullfrogs. Once the defense is successful the next part is having Spies help Natasha destroy a Radar Boat. Infiltrating the Instant Generators will allow Natasha to destroy the Radar Boat and the next part is using Tanya to escort the Combat Engineers on destroying the next Radar Boat. After the Radar Boats get sunk the Allied and Soviet MCVs will arrive.
The new units for the mission are the Apollo Fighters, the Century Bombers and the Aircraft Carriers but the latter two will be acquired after defeating the first Imperial attack.
After fending off the first attack get Apollos, Vindicators, Centuries, Aircraft carriers and Assault Destroyers to attack the fortress. Infiltrating Refineries with Spies will really help out on getting more funds.
Once a base is built on the Fortress get the Engineers to the Power Cores and once both are captured the mission is accomplished. Note that the second core must be captured within 30 seconds of the first.
Trivia[]
- This is the second and last mission the Soviets are allied to the player.
- This mission serves as a proper introduction to the concept of building on water, though the option to do so is present in the earlier missions. The Advisor states that establishing a beachhead is necessary for the production of ground units since Boot Camps and Armor Facilities cannot be built on water (since the units they produce are not necessarily amphibious). The naval aspect of this mission means the construction of an Armor Facility is essentially pointless so this production of ground units is effectively confined to transported infantry, through building an outpost with a Boot Camp on one of the islands where the Radar Boats were.
- Money crates appear for the first time in this mission. Three can be found on the island where the second Radar Boat is docked, with one being hidden under a tree. Each one grants a 1,000 credit bonus.
- This mission features a unique soundtrack, consisting mostly of ambient music fitting the nautical theme. The music subtly changes to include haunting Japanese-style vocals when the player’s units get near the fortress.
- There is a bug in this mission that allows the player to have the fog of war permanently cleared for much of the map. To trigger this, the player must reload the game during the first Radar Boat section from the autosave that occurs at the start of that section, then repeat the process for the second Radar Boat and the autosave that occurs during that section. In the main part of the mission, each of the two islands where the Radar Boats were will have fog of war cleared within a large radius around them. The reason why this happens is not known.
- The Power Cores going into meltdown at the end of the mission produce explosions identical to a blast from a Psionic decimator and will kill any units unlucky enough to be nearby all the same.
- If the Soviets are controlled by the human player, then Natasha could use her Pilot Snipe ability on a Radar boat, which then can be captured by Spy. It's most likely a bug, since the Radar boat itself doesn't even have any voice lines and possesses no weapons at all.
Videos[]
References[]
- ↑ Electronic Arts Los Angeles, Command & Conquer: Red Alert 3. Allied mission 5: "The Unfathomable Fortress".