| The following is based on the Imperial campaign of Red Alert 3 and might contradict canon. |
| “ | Pearl Harbor?! Impossible! It holds so many of our sacred shrines, it houses half our fleet! - Emperor Yoshiro, made aware of a imminent surprise attack |
” |
Graveyard of a Foolish Fleet is the fourth Imperial mission of Red Alert 3.[1]
Background[]
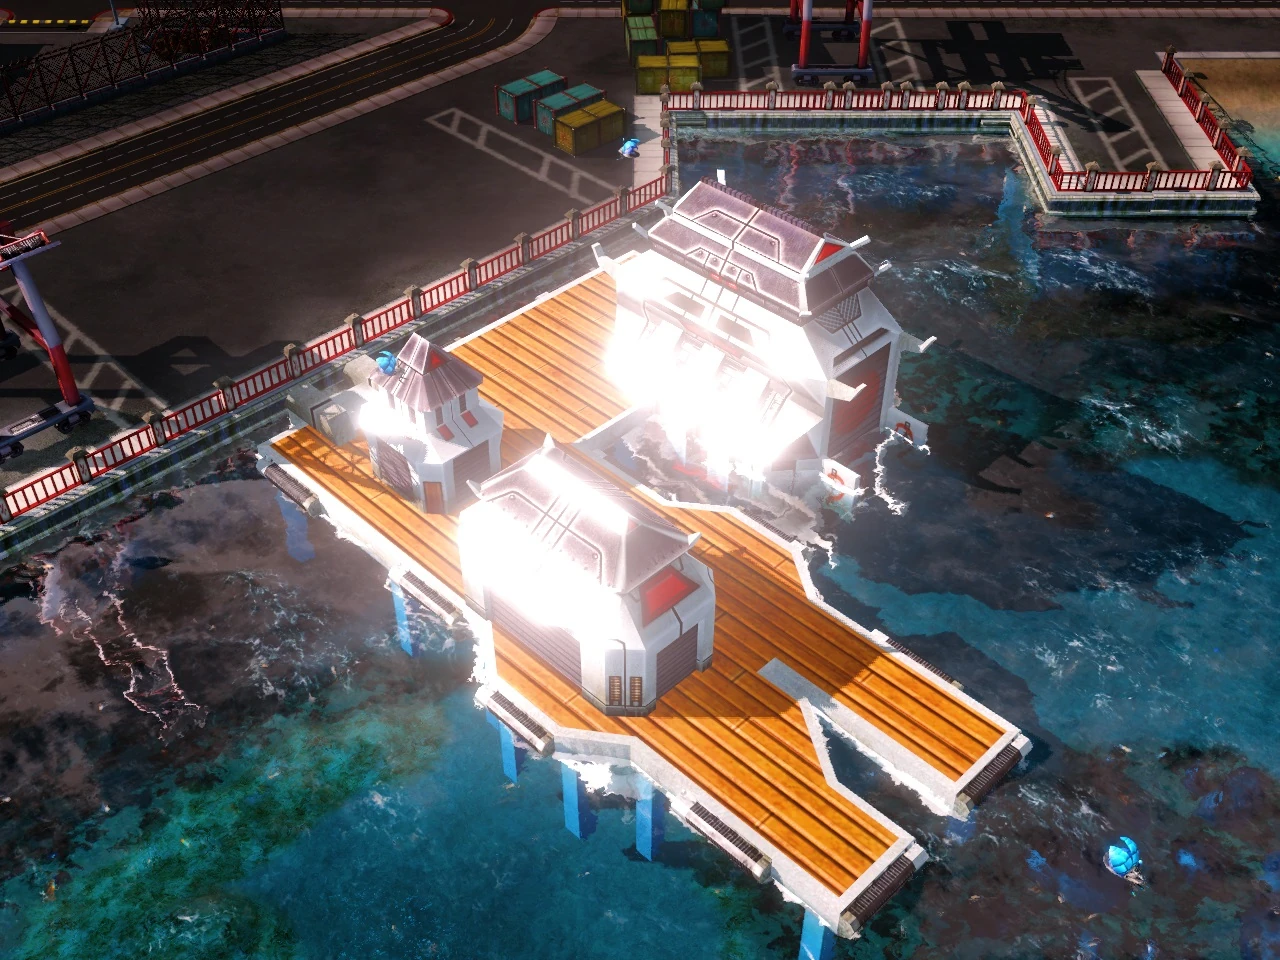
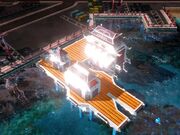
One of the Imperial Harbors

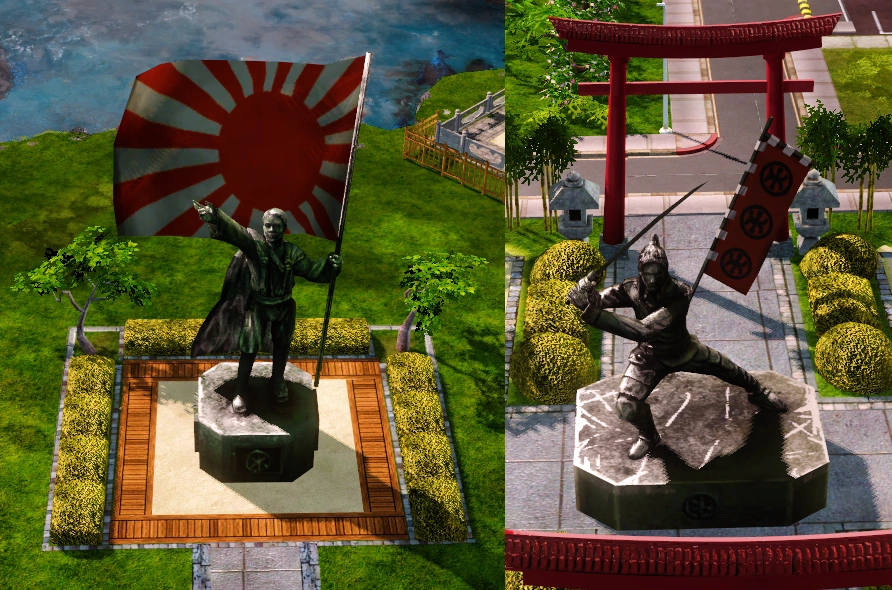
These statues must be protected from the Allies
With the resistance of the Soviet people apparently crushed and their armies in disarray, Emperor Yoshiro decided to shift his focus over to the Allies. In a bombastic speech delivered across the Allied Nations, the Emperor warned them of the consequences of defying the Empire of the Rising Sun, and urged them to submit to his divine leadership, so as to avoid a fate similar to that suffered by the Soviets.
Although this move was criticized by the Emperor's son, Crown Prince Tatsu, for squandering the element of surprise, the Emperor was confident that the show of force levelled against the Soviets would be enough incentive for the Allies to surrender.
Unfortunately for the Emperor, the Allies remained much more headstrong than he predicted. Seeing that a new enemy had arisen to threaten their way of life, Allied High Command dispatched a considerable naval force under the direction of Commander Warren Fuller to seize the Japanese port at Pearl Harbor. This pre-emptive strike was intended to cripple the Imperial fleet before it could be launched against the Allies, as well as demoralize the Japanese population into backing down from their threats.
It is unknown if the attack would have been successful had everything gone to plan for Fuller's forces. Unfortunately for the Allies, however, Tatsu's spy within the Allied leadership tipped him off to this offensive, and a warning was sent to the forces at Pearl Harbor, thus setting the stage for the battle.
New additions[]
Events[]
Defense of Pearl Harbor[]
The Allies had intended on possessing the element of surprise for their attack, in hopes of quickly seizing the port and minimizing their causalities. Thanks to Prince Tatsu's spy, the Imperial forces were more than ready for them, and a full half of the Imperial fleet was prepared to engage the foreign invaders.
When the Allies arrived, they were surprised to see that the Empire was in such a state of readiness, but elected to continue the attack regardless, hoping that their numbers and firepower would break the stubborn Japanese defenses. Emperor Yoshiro had ordered Naomi Shirada and the unnamed Imperial Commander to concentrate their efforts on defending the numerous shrines and statues that dotted the islands, as well as the critical port facilities that were vital to the continued operation of his fleet.


A Long-Range Radar
Within minutes of the Allies first appearing in the port, the Japanese were forced to endure heavy attacks from weapons like the Assault Destroyer with their relatively light vehicles such as the Tsunami tank and Yari mini-sub, while Imperial ground forces fought off wave after wave of Allied paratroopers.
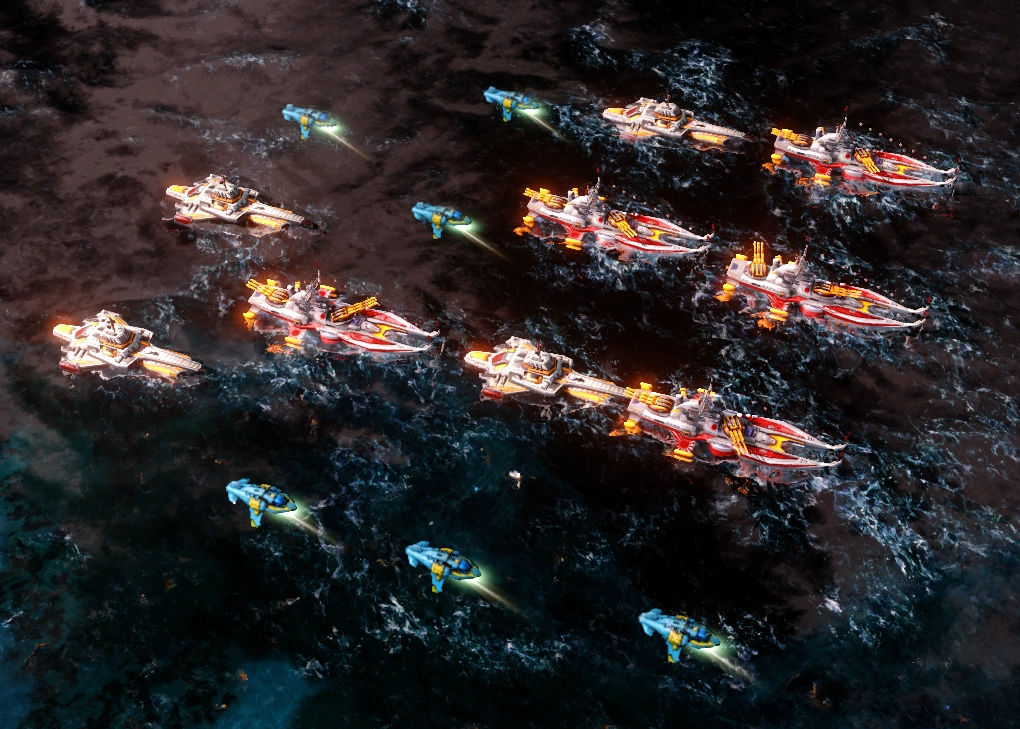
The arrival of a flotilla of Naginata cruisers aided in blunting the continued Allied onslaught, and the presumed cakewalk that they had been expecting devolved into a grinding slog. The versatility of the Empire's Striker-VX and Tengu units was a major asset for the Imperial defenders, allowing them to effectively counter the various Allied attacks, particularly given the presence of the long-range radar installations located in the harbor.
[]

The reinforcement fleet arrives
The arrival of a mighty fleet of reinforcements sent by Prince Tatsu and spearheaded by a flotilla of the Empire's powerful Shogun Battleships helped to turn the tide into the Empire's favor. Moreover, Tatsu's reinforcements were well-placed to exploit gaps in the flanks and rear of the Allied positions. In their desire to seize the beaches of Hawaii for their own, the Allies had overextended themselves, and now Tatsu's fleet hammered into the vulnerable portions of their lines.
With these reinforcements, and with the islands now secure from Allied assaults, the Imperials were able to push the enemy back, defeating the Allied fleet in a pitch engagement and driving them from Hawaii. Even the appearance of Allied Aircraft Carrier reinforcements and the use of Spectrum Tower defenses was not enough to stop the Imperial juggernaut.
Within a short period of time after the arrival of Tatsu's own fleet, the Allied task force was routed, their hastily erected base sent to the bottom of the Pacific, and Commander Fuller sent fleeing towards Allied waters with whatever vessels he could salvage from the debacle.
Aftermath[]
| “ | Alright, you win! I never liked Hawaii anyway! - Warren Fuller, conceding defeat |
” |
The battle was a tactical victory on the part of the Empire of the Rising Sun. The naval facilities at Pearl Harbor had been saved, thus allowing the Imperial Navy to continue using this port to enforce their dominance over the central Pacific.
All of the sacred shrines, statues and other symbols of Imperial power had been preserved, thus preventing a potentially fatal loss of morale on the part of the Japanese people. Finally, the Allied task force had been almost completely destroyed, with hundreds of ships and tens of thousands of the Allied best officers and men sent to a watery grave. The Imperials, meanwhile, had suffered relatively few losses in comparison, meaning that they would be in a much better position to strike the United States now that much of the enemy's strength had been removed.
However, on the strategic level, not everything went in the Empire's favor. It was soon apparent that this attack was a mere (though costly) diversion meant to divert the Empire's naval forces away from Japan itself, giving the Allies a clear shot at invading it.
Thanks to the battle and the resulting redeployment of Imperial naval assets, the only thing standing between the Allied invasion force and Japan itself was a single Floating Fortress. Emperor Yoshiro made it clear that should this fortress fall, Tokyo will fall with it...
Walkthrough[]
The first part involves holding off the Allied fleets and their air power.
The Assault destroyers are strong so get Chopper VXs to destroy them but beware of the Apollo fighters.
The Apollo fighters will make sure the player does not use any Imperial air units so get Striker VXs to shoot them all down without transforming them into Chopper VXs.
The Nanoswarm Hive is available to the player in this mission.
Reinforcements of Naginata cruisers will arrive. Use them to sink the Assault destroyers and the Aircraft carriers but beware of Century bombers, Cryocopters and the Vindicators.
The Shogun battleships will arrive. Once they arrived use them to destroy the Allied bases from a safe distance due to the spectrum towers and mutligunner turrets will destroy the Naginata cruisers and the players air power.
Once the last Allied structure is destroyed the mission is a won.
Trivia[]
- The Japanese having a large base at Pearl Harbor with the majority of their fleet stationed being ambushed by the Allies is intended to be an ironic reversal of the events of World War II in real life, where the USA had most of its fleet in Pearl Harbor when it was ambushed by the Japanese.
- The Nanoswarm hive is available to build in this mission. Being just the fourth mission of nine, this is the earliest point in any of the three campaigns in which a superweapon can be built.
- All vessels of the reinforcement fleet are equipped with the Fortified Fleet upgrade, despite this ability not being available for this mission.
Videos[]
References[]
- ↑ Electronic Arts Los Angeles, Command & Conquer: Red Alert 3. Imperial mission 4: "Graveyard of a Foolish Fleet".